
Tractor Work Lights: How to Choose the Right Beam and Fit
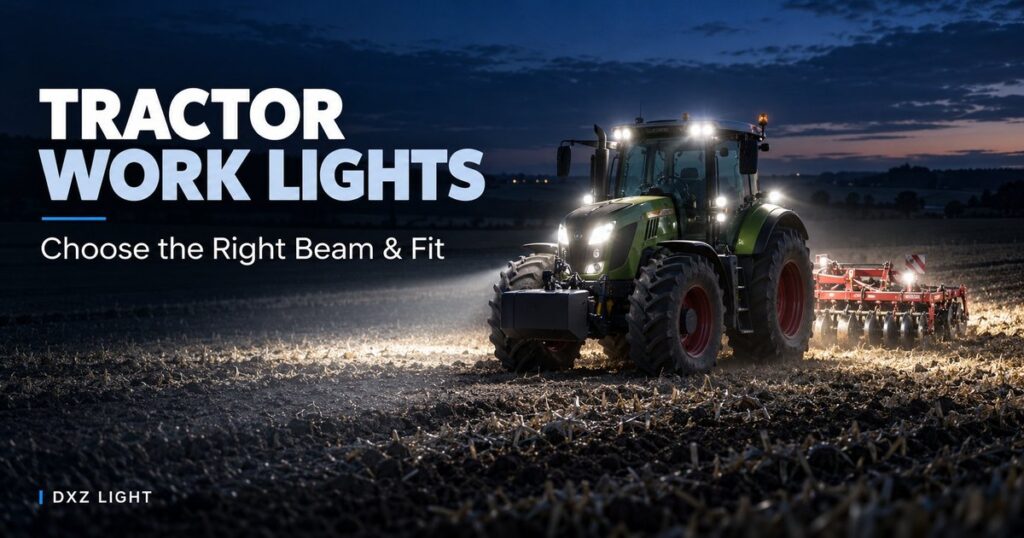
Choose tractor work lights by the job you need to see: nearby loading and hitch work call for broad coverage, while a farther target calls for a more concentrated beam. Then match that beam to a usable mounting position, the tractor’s electrical system and its working environment. The useful choice is the lamp that puts light where the operator needs it and fits the machine.
A rear implement, a loader bucket and the ground ahead present different lighting problems. Treat each as a separate work area, even if the lamps will share a circuit. This gives you a clearer starting point than choosing a set by housing shape or wattage alone.
How do you choose the right beam for tractor work lights?
Start by identifying both the target and its edges. For hitching or work beside the tractor, a broad beam is a useful starting point because the task occupies an area close to the machine. For a rear implement, include the working width and the parts the operator needs to watch, rather than selecting a rear light only for reversing.
Farther-ahead work changes the priority. A more concentrated pattern is worth comparing when the target lies beyond the immediate work area. Wide and concentrated beam patterns address different work areas. These are starting points for selection; the candidate lamp’s distribution determines the final fit.
That is why a beam map is more useful than a lumen figure on its own. Lumens describe light output; the map shows how the lamp distributes it across an area. Compare the center, the edges and the distance you actually work at, using the map’s stated mounting and measurement conditions.
Imagine choosing a lamp for a wide rear implement. A bright central patch may leave the implement’s ends outside the useful coverage. In that situation, compare a wider pattern or another aiming arrangement before moving to a higher-output lamp. For a more distant, narrow target, make the opposite comparison: look first at where the beam concentrates its light.

Use the target’s outer edges and location to choose which part of a candidate lamp’s distribution map to inspect, then check it at the intended mounting position.
The terms “flood,” “spot” and “work light” help you narrow the search. A distribution map and a trial at the intended lamp position turn those labels into a buying decision.
How should you position and aim LED tractor lights?
A suitable lamp needs room to fit, adjust and point at the task. Housing dimensions tell you whether it fits the available space; bracket geometry tells you whether it can reach the required angle. Compare the lamp’s light distribution, mounting options and housing size together when assessing the intended installation.
For an existing lamp position, use the mounting dimensions as an early filter. Include the fixing points, clearance behind the housing and space for the connector. A compact replacement may be easier to fit, but its beam still needs to cover the intended work area.
Loader work deserves a look through the attachment’s movement. From the driver’s seat, consider the bucket lowered, raised and in its working position. If the hood or loader blocks the intended path of light, compare another lamp position or aiming angle; additional output is a separate decision.

During the trial, repeat this path check through the attachment’s working positions before deciding whether more light output is needed.
The same trial should include mirrors, cab glass and nearby reflective surfaces. Aim for a clear view of the task, and look for distracting reflections as you adjust the lamp. For a fleet order, keep the bracket and fasteners used in the successful trial with the selected lamp configuration, so the installation can be repeated.
What electrical checks do 12 volt LED tractor lights need?
The electrical choice has two parts: the lamp must support the tractor’s supply, and the circuit must support the planned installation. When comparing 12 volt LED tractor lights, use the exact model’s continuous input range and installation instructions alongside the tractor’s electrical documentation. The charging-system conditions and grounding arrangement belong in that comparison.
A single-lamp replacement and a multi-lamp upgrade need different information. For a replacement, the installer can compare the proposed lamp with the existing supply, circuit and connector. For an upgrade, the installer also needs the current draw of the planned set, cable route and length, and the permitted loads of the fuse, switch and relay arrangement.
Make the connector part of the specification. Its pinout, polarity and sealing arrangement need to match the installation, alongside its physical fit. This is especially useful when sourcing replacement lamps for several tractor models: an identical-looking housing may still require a different electrical connection.
DXZ’s work-light wiring guide covers relay, fuse and cable decisions in more detail. Use its negative-ground examples with the tractor’s instructions and the chosen lamp’s specifications when planning the harness.
What protection do tractor work lights need for field work and cleaning?
Describe the exposure in practical terms: dusty field work, rain, possible immersion, the cleaning method and the operating temperature. Each gives the supplier a different question to answer about the lamp. ISO 20653 treats enclosure protection through specified protection and test conditions, so the conditions matter alongside the stated result.
For a lamp that will be washed with the tractor, include how it is cleaned and which chemicals are used. Keep the lamp enclosure and the installed connector arrangement in view when comparing evidence. The aim is to match the supplied assembly to the exposure it will face.
One DXZ example shows why the result matters: the LP4.5C01 rain-test report records a pass under its stated conditions. “IPX9K” appears in the test equipment’s name, but the reported result does not assign that product rating. For a washing requirement, the useful next detail is the applicable protection result and cleaning conditions for the offered lamp.
The IP67, IP68 and IP69K comparison explains these water-exposure distinctions further. Include the required ambient operating conditions in the same specification, so water protection and temperature suitability can each be addressed.
Does R10 approval cover road lighting for LED tractor lights?
UN Regulation No. 10 concerns electromagnetic compatibility, or EMC. It answers a different approval question from road illumination: UNECE lists R10 under EMC, while R149 concerns road-illumination devices.
If the tractor will travel on public roads, identify the lighting function and destination market when discussing approval. An R10 document alone does not establish approval for a road-lighting function or its installation. Keep that review alongside the work-light selection, with the applicable requirements for the intended use.
How can a sample trial confirm tractor work lights fit the job?
A shortlist brings together beam, fit, electrical supply and exposure. A sample trial lets you assess the remaining installation questions on the tractor: whether the operator can see the working area, whether attachment movement creates a shadow, and whether the lamp can be aimed comfortably from the available mount.
Give the trial a specific purpose. For a rear implement, view its center and ends from the seat. For loader work, repeat the view with the attachment in its working positions. Record the lamp model, mount, aiming position and electrical connection so the accepted arrangement is clear.
Model-specific reports belong with this decision. Match the quotation to the lamp and configuration used in the trial, then retain the applicable electrical, protection and approval documents with the order. This keeps practical fit and documented performance connected without turning every report into a claim about every lamp in a range.
What should a quotation for tractor work lights include?
Once the working area and installation are clear, a quotation can address a specific lamp arrangement. A short description and a few photos give the supplier something concrete to work from:
- Tractor model, existing lamp position and mounting dimensions.
- Area to be lit, working distance and attachment movement.
- Supply, grounding arrangement and connector details.
- Field and cleaning exposure, destination market and required documents.
Browse the DXZ LED work light range with those requirements in mind, then send your tractor and lighting details for a quotation. Include any connector or bracket changes with the initial inquiry; for a custom assembly, DXZ’s OEM & ODM service is the relevant discussion route.